Image Library
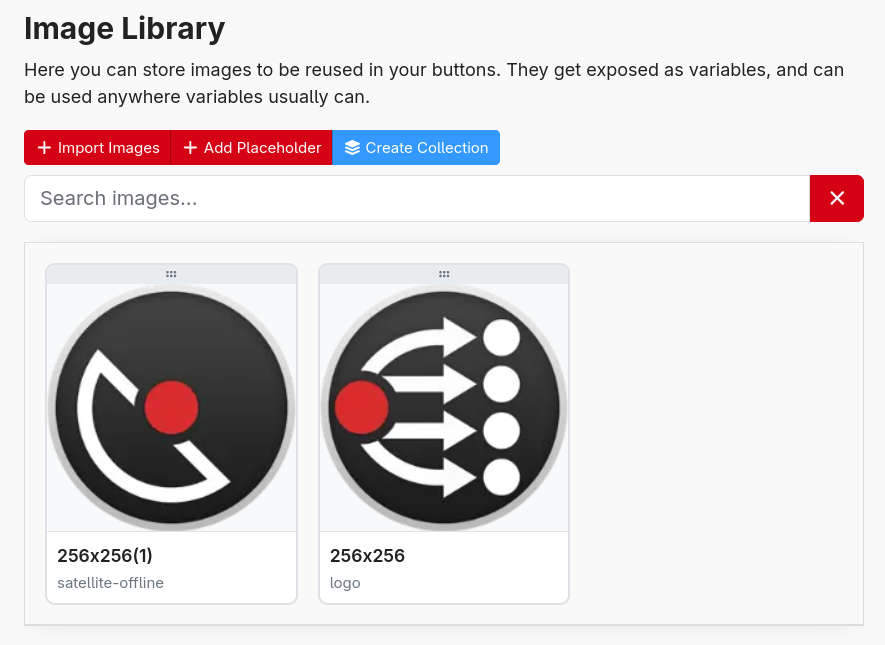
The Image Library is a central place to store the images you want to use on your buttons. Upload an image once, give it a name, and you can then drop it onto as many buttons as you like — and if you ever need to change it, you update it in one place and every button that uses it updates too.
You'll find it in the sidebar under Image Library.
Adding images
There are two ways to get images into the library:
- Drag and drop one or more image files straight onto the Image Library page.
- Use the upload button to pick files from your computer.
Any standard image format works (PNG, JPEG, SVG and so on), including animated GIF, PNG and WebP images. For button backgrounds, square images (such as 72×72px or larger) generally look best, since Companion scales them to fit the button.
Managing images
For each image in the library you can:
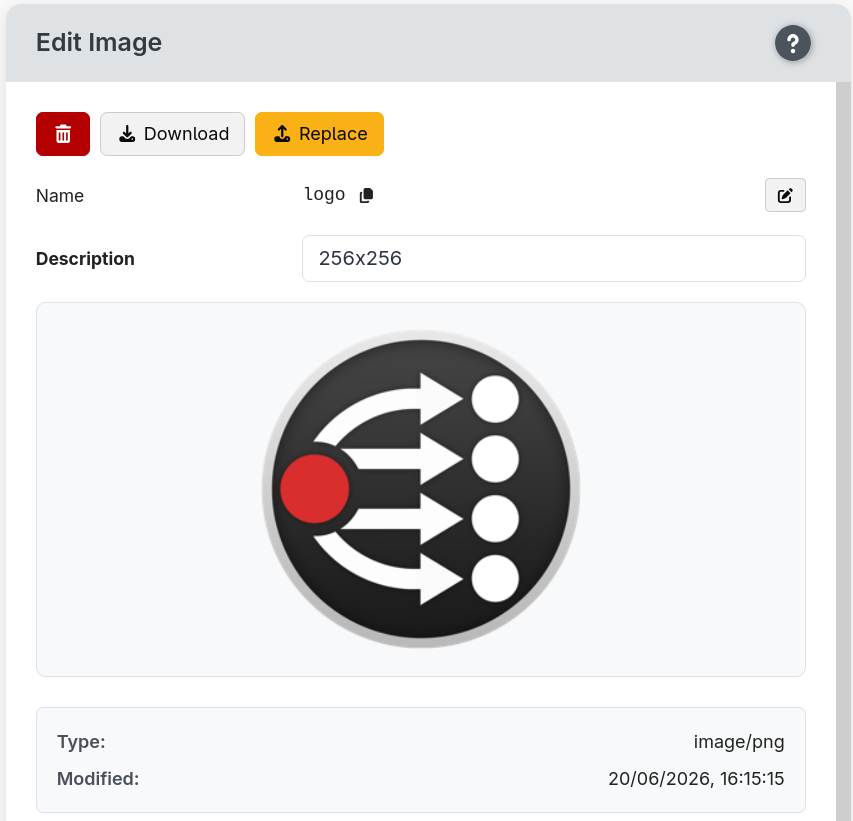
- Rename it — the name is how you'll reference it later, so pick something memorable like
camera-1orlogo. - Add a description — an optional note to help you remember what it's for.
- Replace the file — swap in a new image while keeping the same name, so every button using it picks up the change automatically.
- Download it back to your computer.
- Delete it.
You can also organise images into collections to keep large libraries tidy.
Using a library image on a button
When you add an Image element to a button, the image picker lets you choose any image from the library instead of uploading a one-off file.
Behind the scenes, a library image is referenced by name using the $(image:name) syntax. So an image
you named logo is referenced as $(image:logo). You usually won't need to type this — the picker
does it for you — but it means you can also use a library image anywhere expressions are supported.
Referencing an image from the library, rather than uploading the same file onto lots of buttons, is the easiest way to keep a consistent look. Update the library image once and your whole layout follows.